top of page
Parametric Design Grasshopper Tutorial 1
Parametric Design Grasshopper Tutorial 1

Parametric Design Grasshopper Tutorial 1| Class 3 | List Item, Cull Item
09:20

Parametric Design Grasshopper Tutorial 1| Class 4 | Boolean, Cull Patterns
04:55

Parametric Design Grasshopper Tutorial 1| Class 5 | Shift a list
03:51
Parametric Design Grasshopper Tutorial 2
Parametric Design Grasshopper Tutorial 2

Parametric Design Grasshopper Tutorial 2 | Class 1 | Using Image Sampler to Manipulate Brick Wall Pa
08:46

Parametric Design Grasshopper Tutorial 2 | Class 2 | Creating a Wavy Surface with Image Sampler
05:37

Parametric Design Grasshopper Tutorial 2 | Class 3 | Box Morph for Surface and Volume Population
04:10
Parametric Design Grasshopper Tutorial 3 - Simulation
Parametric Design Grasshopper Tutorial 3 - Simulation

Parametric Design Grasshopper Tutorial 3 | Class 1 | Simulating a Tensile Structure with Kangaroo2
08:09

Parametric Design Grasshopper Tutorial 3 | Class 2 | Simulating a Tensile Structure with Kangaroo2
03:13

Parametric Design Grasshopper Tutorial 3 | Class 3 | Collision and Form-Finding with Kangaroo2
14:02
REVIT Tutorial 1
REVIT Tutorial 1

REVIT Course | Class 1 | Introduction to REVIT and Building Information Modeling
03:06

REVIT Course | Class 2 | REVIT Interface and creating new File
02:51

REVIT Course | Class 3 | Revit Interface
08:06
REVIT Tutorial 2
REVIT Tutorial 2

Revit Tutorial 3 | Class 1 | Introduction
01:12

Revit Tutorial 3 | Class 2 | Creating Levels
02:28

Revit Tutorial 3 | Class 3 | Structural Grid Part 1
01:59
REVIT Tutorial 3
REVIT Tutorial 3
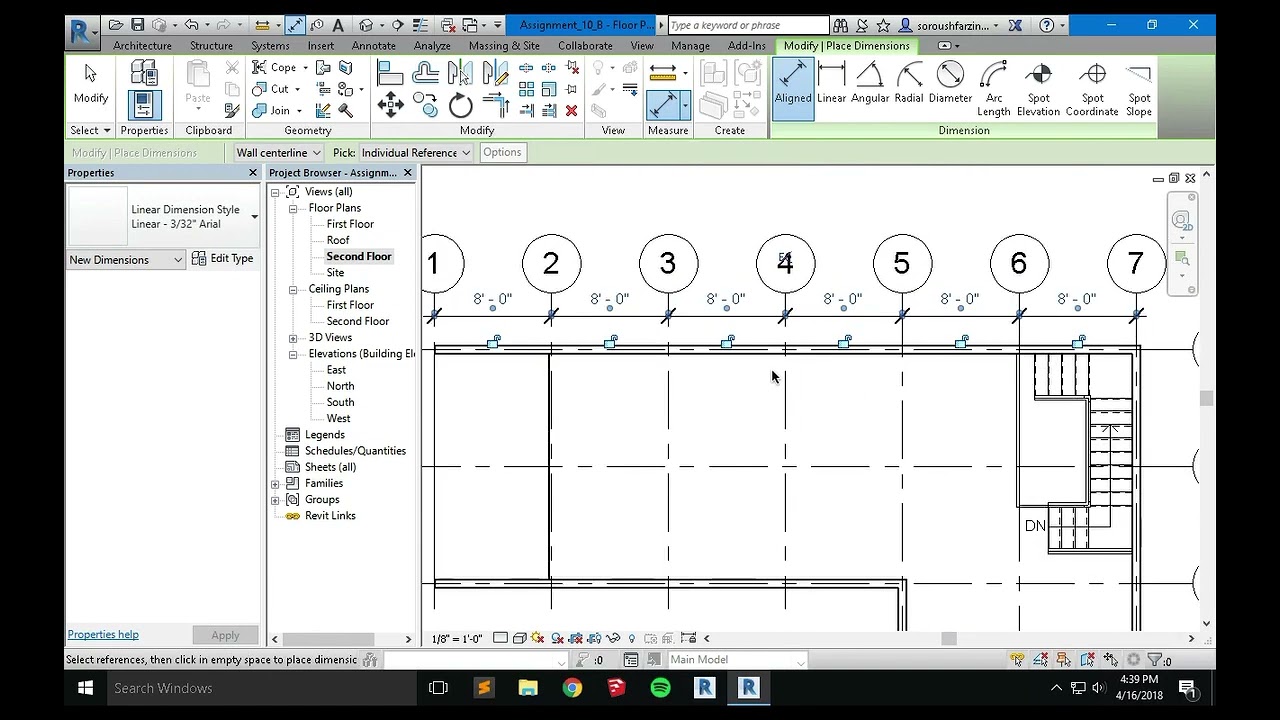
Revit Tutorial 4 | Class 1 | Dimensions Part 1
03:49

Revit Tutorial 4 | Class 2 | Dimensions Part 2
00:56

Revit Tutorial 4 | Class 3 | Foundation Level
01:19

Revit Tutorial | Integration of Structural System
bottom of page